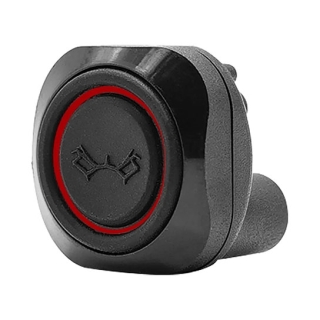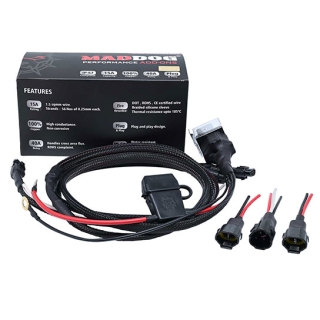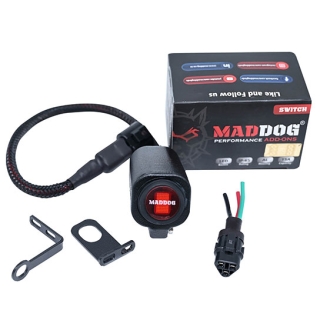
Auxiliary light wiring harness and Switch
Auxiliary lights pull more current than most factory circuits are built to handle, so wiring them straight into your horn or headlight line is the fastest way to overload it. A dedicated harness solves this properly.
A proper kit routes power directly from the battery through a relay and fuse, with a low-current handlebar switch controlling when the lights turn on. This keeps the load off your bike's existing wiring entirely.
Most kits here include the harness, relay, fuse, and switch together, though standalone switches and harnesses are also available if you're replacing just one part of an existing setup.
For more on relays, alternator load, and safe wiring practices, our How to Choose Auxiliary Lights for Your Motorcycle guide covers this in detail.
Why a Relay and Dedicated Switch Matter
The relay is doing the heavy lifting: it lets your handlebar switch carry only a small signal current, while the relay itself handles the higher current draw straight from the battery. Skip the relay and wire lights directly through a switch, and you risk melting connectors or draining more than that circuit was designed for.
FAQs
Q: Can I just wire my auxiliary lights into the horn or headlight circuit?
A: You can, but it's not recommended. Those circuits aren't rated for the extra current, and doing this risks damaged wiring or a blown fuse. A relay-based harness protects your existing electrics from that load.
Q: What's the difference between a standard and a premium wiring harness?
A: This varies by listing, but premium harnesses typically add extras like a built-in dimmer, additional fused outputs for other accessories, or heavier-gauge wiring. Check the specific product description for what's included.
Q: Does the handlebar switch need to be waterproof?
A: Given it's mounted in the open and exposed to rain, yes, a weatherproof or sealed switch is worth prioritising over a standard toggle switch not rated for outdoor use.